Guido Duijzers
Advice & demos
Tell me what you want to prepare. We can then look at how Baudex can help.
Areas
What belongs in the item? Follow the measurement from the drawing to the quantity in your estimate.
View the exampleA-101 · Office zone
Check the boundary on the drawing. Then record which quantity belongs in the item.
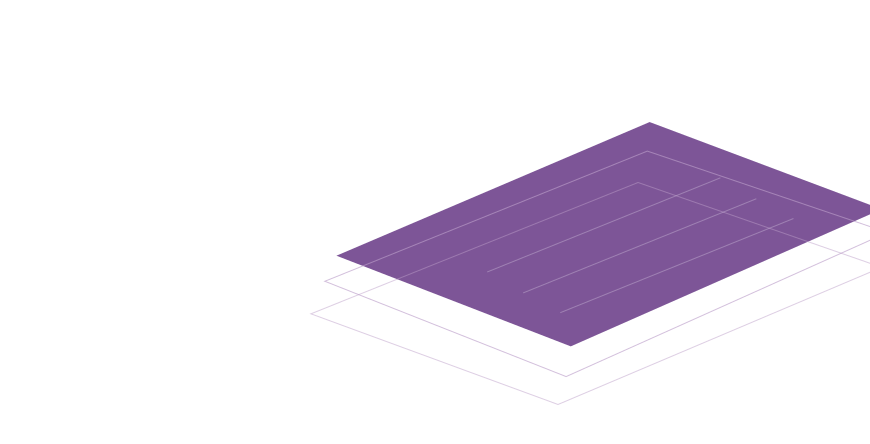
Define the floor boundary first. Check the scale and divide the area into the functions needed for your estimate.
Project
AI can suggest a drawing boundary. You prepare the gross floor area outline separately.
Compare the scale with a known measurement. Confirm the gross floor area boundary yourself before measuring further.
Check the suggested layout. Assign areas to office or circulation space, or deliberately leave them unassigned.
240 m² gross floor area: 160 m² office, 60 m² circulation and 20 m² unassigned.
Baudex Measure
The floor plan stays visible beside the function list, showing the corresponding m² for each area. We continually improve Baudex Measure to better support the work of construction professionals.

Use the checked m² by function as the basis for the preliminary design estimate. Record the price and assumptions for each item.
Item · A-101
23 m²
A-101: 6.00 × 4.00 m. The 1 m² shaft is excluded from the floor finish. So: 24 − 1 = 23 m².
Check the exclusion on the latest drawing. Then record the unit price, source, reference date and scope.
The gross floor area is divided by function. The 23 m² applies only to this item.
See how to assess an estimate item
Compare the new sheet with your measurement. Update only the affected items.
Compare the sheet number, revision date and a known measurement.
Check which boundaries have shifted, where the function changes and what is still unassigned.
Record the new quantity and source sheet for each changed item.
PRACTICAL QUESTIONS
From the right drawing to a checked quantity for your estimate.
DIRECT CONTACT. MOVING FORWARD TOGETHER.
Bring one floor plan. With Guido or Kim, review the boundaries and quantities for your estimate.
Request a demo
Dutch is selected.